We have all met with that unfortunate situation where we want to smoke, but we are out of hookah coals. It is frustrating, terrible and a ton of other negative adjectives. The only way to truly avoid this situation is to stock up on charcoal and make sure that you always have more than you could need. But, charcoal can get expensive really quickly. How can you stockpile a lot of coal for a low initial cost?
Make your own hookah coals at home!
Let’s start with a warning. Never use lumber wood or reclaimed wood of any kind. If you are going to make charcoal or even burn wood in a fire, you need to make sure that t is free of toxic chemicals or treatments that could be irritating or even fatal. Did you know that some deck lumber is treated with arsenic to prevent mold and wood eating pest? I’m no expert, but smoking arsenic is probably not a good idea. If you don’t believe me put own the hookah and walk away slowly before you hurt yourself.
Next, not all wood is safe to use for charcoal. Never use evergreen woods or any other wood that is resinous or a softwood. You only want to use hardwood that is considered food safe because there are a lot of trees that are actually toxic. Fruit woods like apple, olive, cherry, lemon and orange are the best option for this project. Oak is also good because it is so dense. The type of wood you use can actually have an effect on the flavor of your session. Mesquite and hickory charcoal are popular in grilling for exactly that reason and the distinct flavors they lend to the food. Olive and lemon wood charcoal are the most commonly used types in the Mile East for smoking hookah because they have a neutral flavor (much like Coco Nara coals) that does not add to the smoke in any way.
The actual process of making charcoal is fairly simple. Once you’ve selected your wood, cut it into chunks that are about twice as large as the size that you want the charcoal to turn out. The pieces will shrink in the process, but you can always cut them down later if they are too big. From here you can choose either the paint can method or the tin foil method.
The Paint Can Method
Pack these pieces into a paint can that has been thoroughly cleaned to the point of being spotless and then seal it up with the lid making sure that it is very tight and without leaks. Now punch 3-5 nail holes in the top. These allow the gasses to vent without letting fresh air back in, which is the most important part of making charcoal. I actually prefer to buy a clean, unused paint can from someplace like Home Depot to ensure that there is nothing nasty or toxic in my charcoal.
Remember to pack the wood in tightly to reduce the amount of airspace. Less air means less oxygen and wood only becomes charcoal when exposed to high heat without very little oxygen present. The little bit that is left will be forced out of the vents as the wood releases steam and other gasses.
Now you just need to heat the container. You can just put the can in a good sized wood fire for about an hour and a half to two hours or you can use a propane burner for the same effect. The holes will vent off steam, then smoke and then actually turn into little jets of flame if allowed to ignite. After this period of time, use a heat safe tool, like a pair of channel lock pliers, to remove the can from the fire and place it on a fire safe surface.
Place a wad of wet paper towel over the holes and let the can cool completely.
DO NOT OPEN UNTIL ENTIRELY COOL!
Remember that you just made a pressurized can of fuel and opening it while still hot will cause that charcoal to spontaneously combust and will almost assuredly result in damage to property or bodily harm. Be smart and don’t hurt yourself. When the can is entirely cool, open it up and check out your charcoal.
The Tin Foil Method
This method is a bit janky seeming and is more limited than the paint can method but it’s a great way to get your feet wet and try making a small amount of charcoal at home. All you need to do is wrap your chosen pieces of wood in tin foil making sure that it’s completely covered and then place it in the fire. The chemical process is the same as the paint can method but you can’t make as much charcoal at one time and you end up wasting the foil. The best advice I can give is to not mess with it once it’s in the fire. If you tear the tinfoil you ruin the charcoal, so just leave it alone until the fire is completely dead and cool. Then you can pop the foil off and see the result.
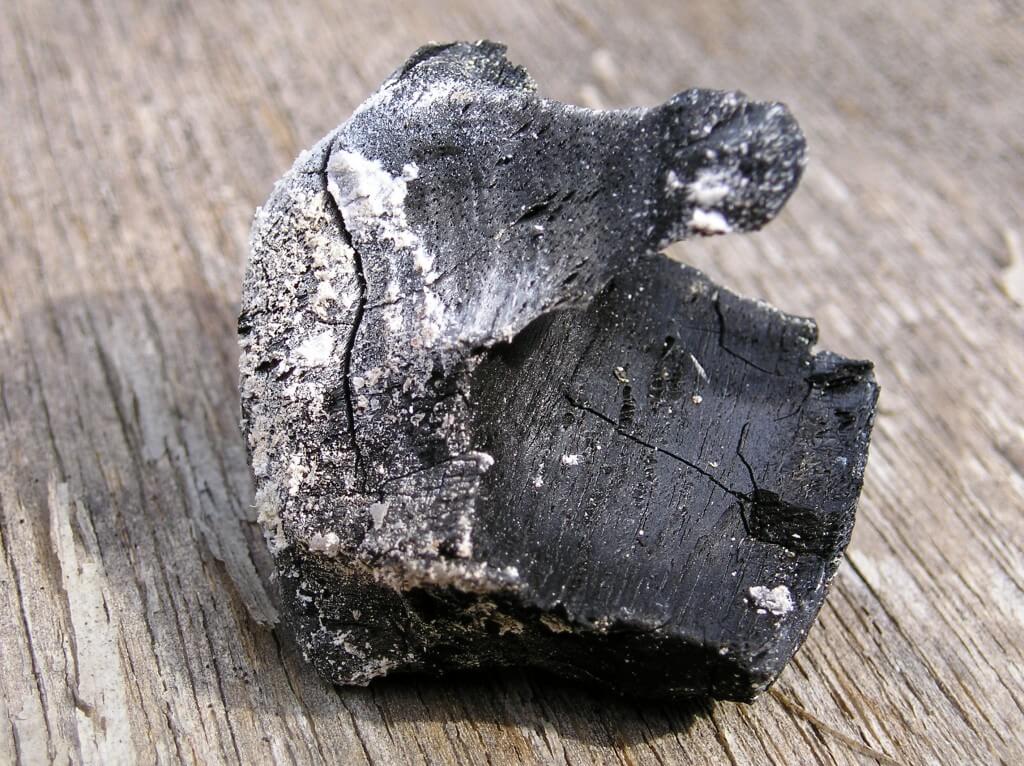
Isn’t that pretty?
The process is not all that complicated, but it can be dangerous if you don’t do it properly. On that note, ALWAYS DO THIS OUTSIDE AND IN AN AREA THAT IS SAFE FOR OPEN FLAMES! I don’t think I should have to say that but you may be surprised and I don’t need that surprise to involve a fireball.
Also See:

Wow Paul very cool article. I had absolutely no idea you can make your own coal. Wish I knew this when I was living in New York a few months back. Nothing but oak. I would have made myself a few years supply of coals.